Cardboard Challenge
Cardboard Challenge
Hot Air Balloons and a Simple Pulley System
My original inspiration was a picture I found on cardboardchallenge.com (https://goo.gl/images/JE8Uj8) –I was completely in love with the whimsy of the balloon and initially imagined that I would make a simple pulley system where I was the force that made the balloon rise and fall by pulling a string over some bobbins mounted on a cardboard background. Once I made the first balloon and attached a basket, however, I realized that I could put a bottom on the basket and make it actually hold items to make a kind of scale, which would make the rise and fall more interactive and experimental.
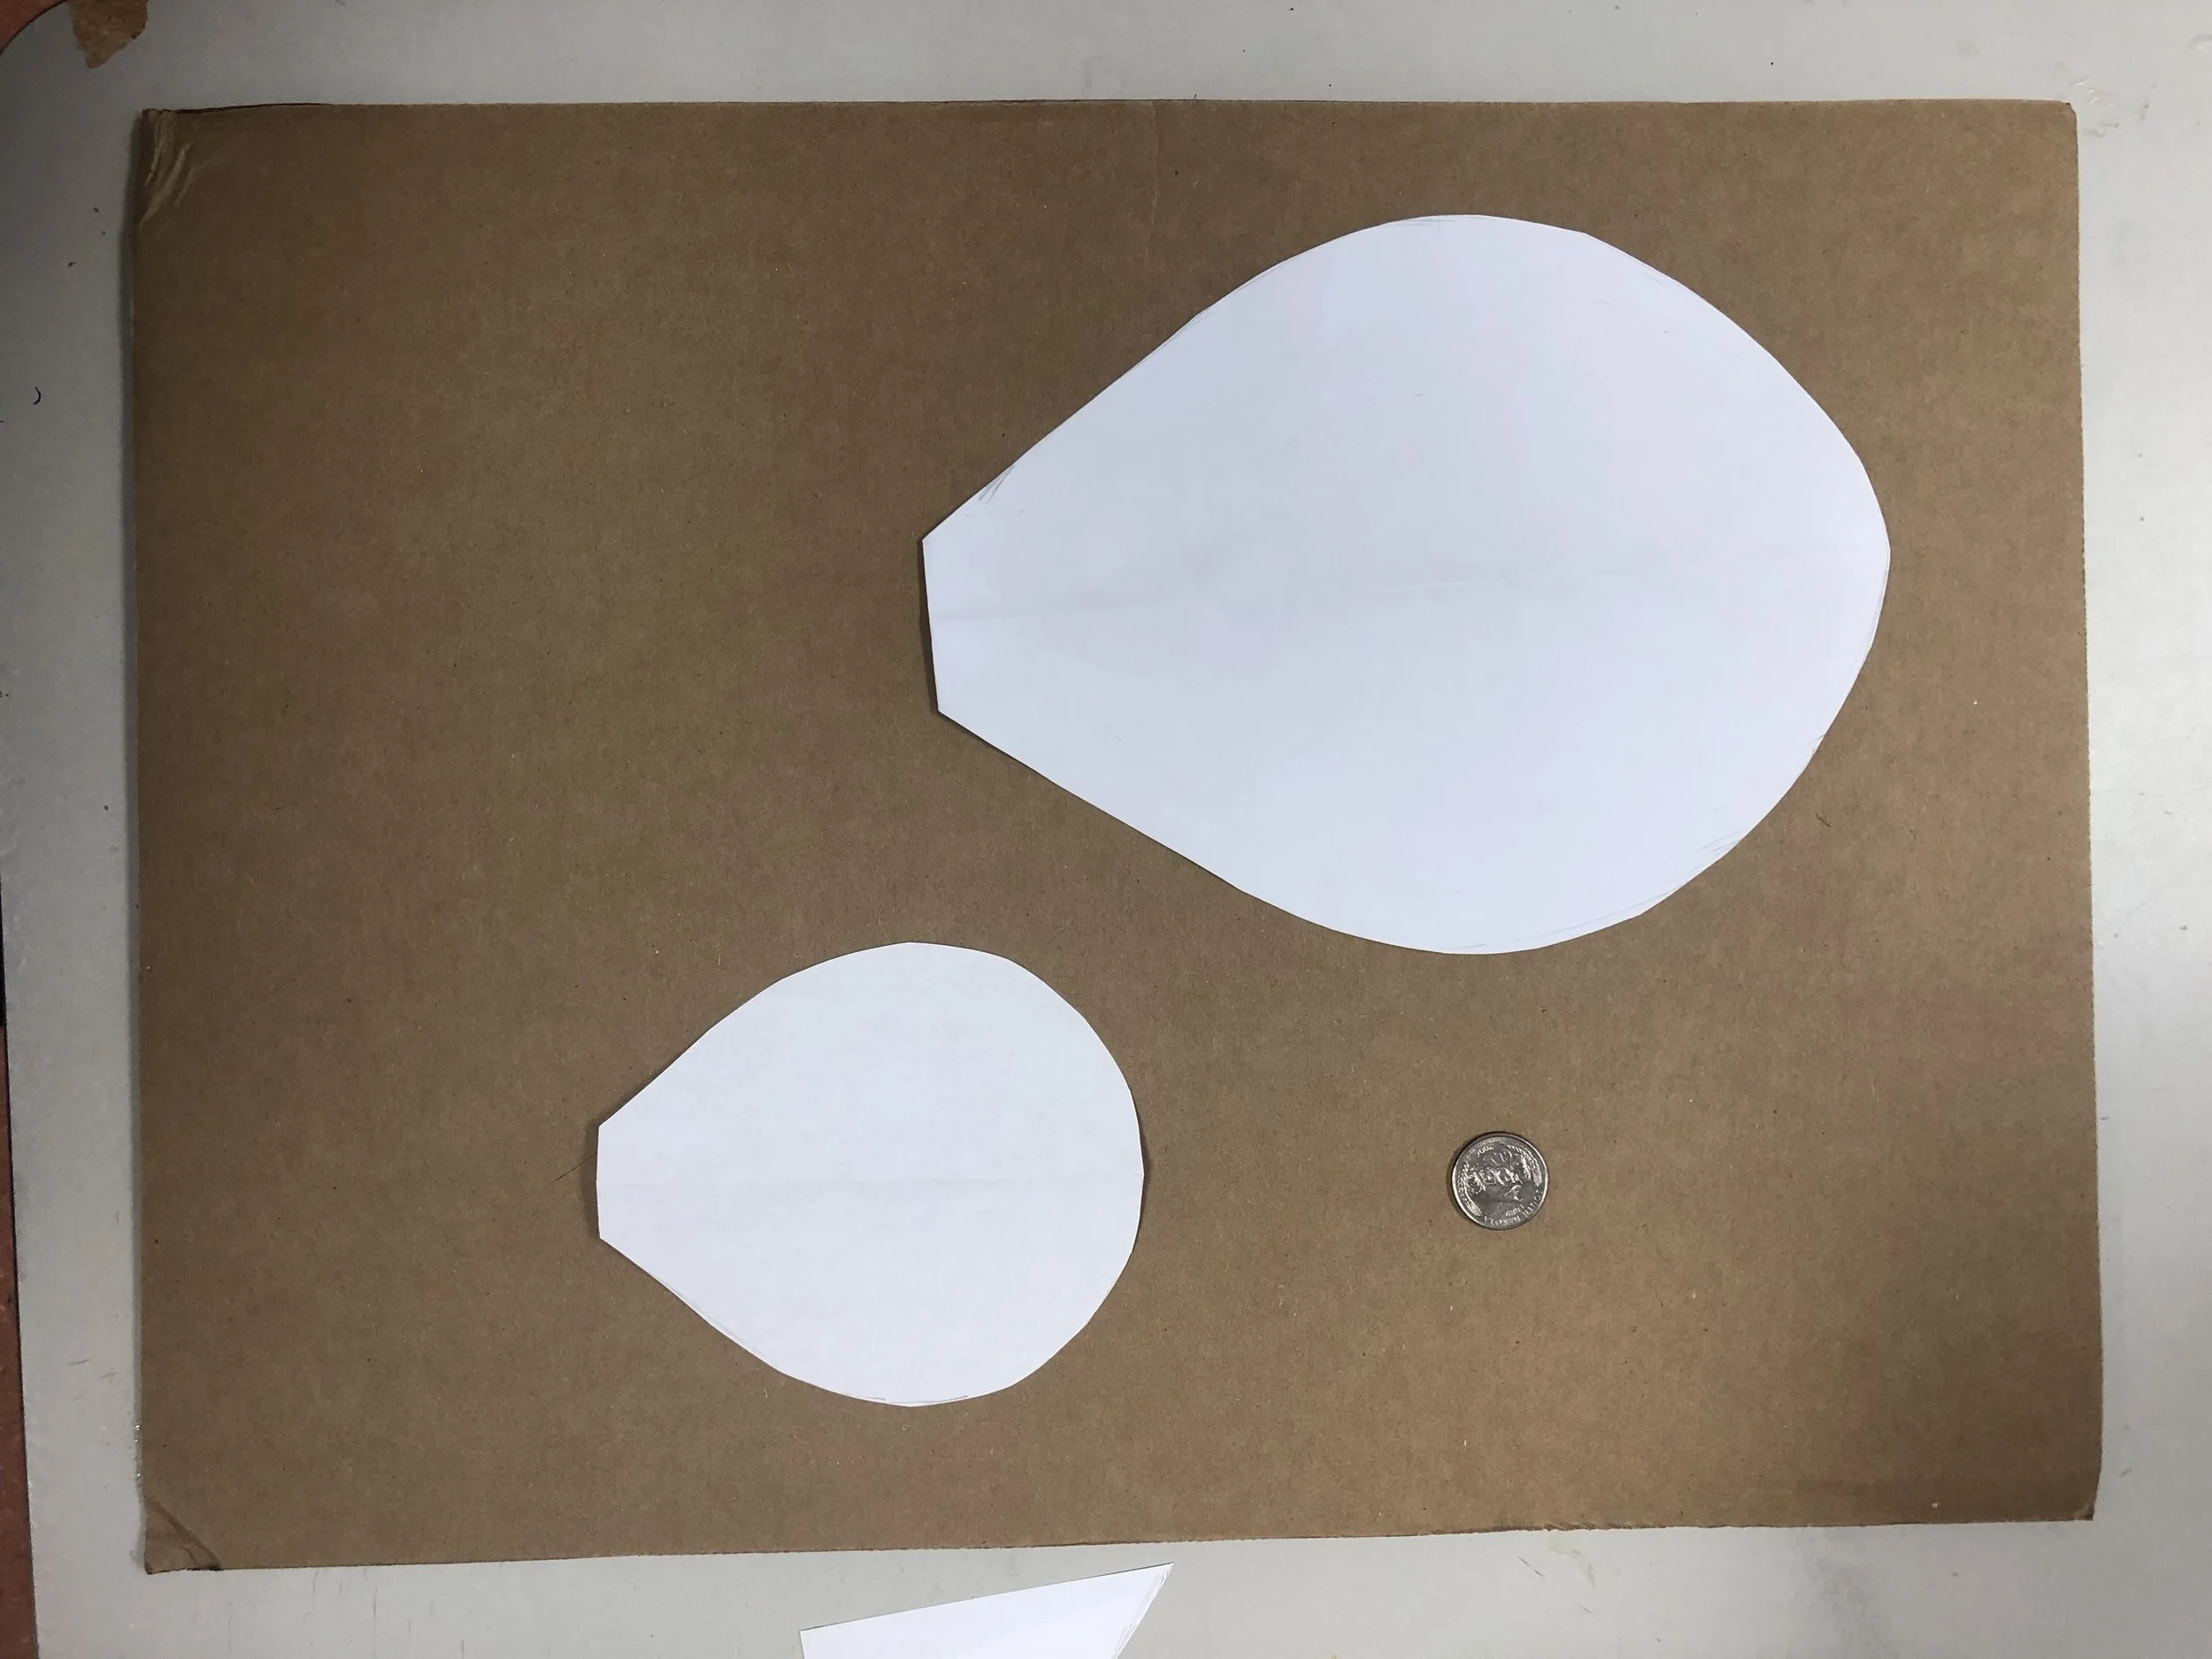
Stencils to get started.
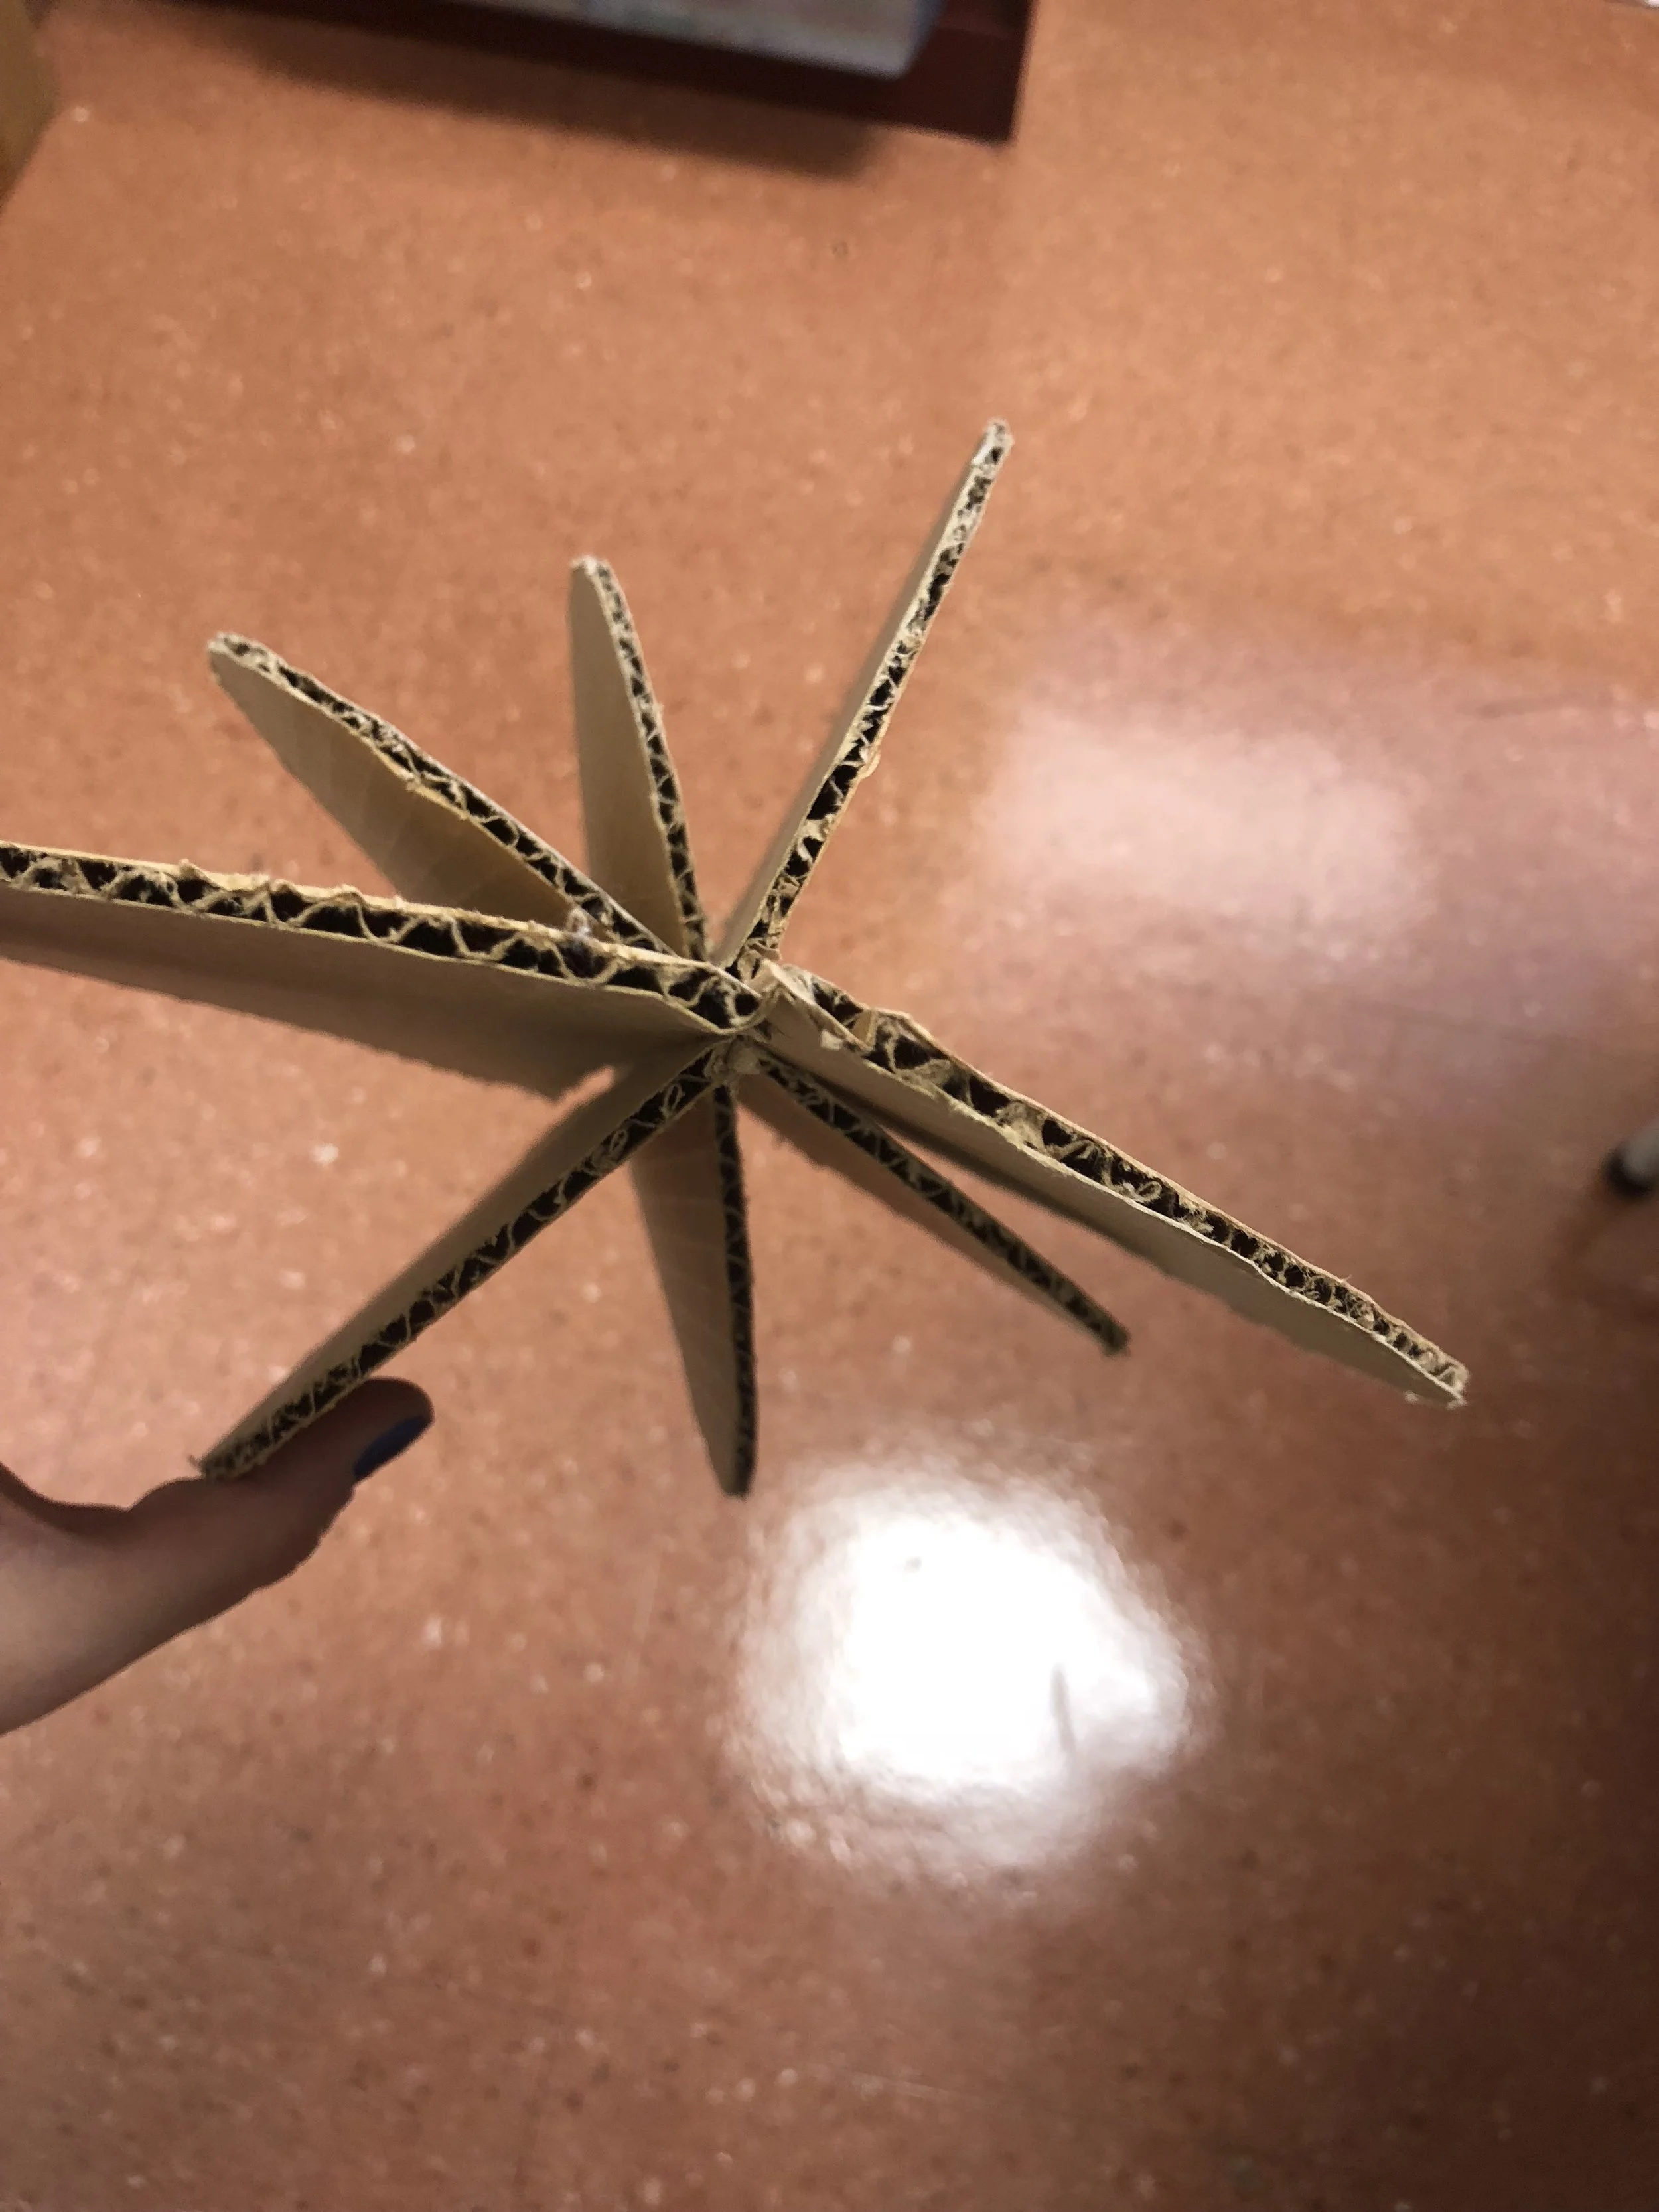
Flattening out--only open because I'm holding it that way.
Early stages--now with even more mistakes and missteps!
I started with balloon-shaped pieces of cardboard that I tried to assemble using slits and placing the pieces crosswise/perpendicular to one another, but there wasn’t enough stability and the pieces all just flattened out. Then I tried making incrementally larger pieces to slide over each other, which made for more stability, but didn’t have the aesthetic I wanted.
Fashioning the Balloons
Gluing the pieces together.
Finally, I realized that I could have a flat balloon shape in the center, to which I could glue matching pieces that I had bent vertically and tied with a slip knot with crochet yarn to keep them open
Threading the slip knot to keep the pieces bent open.
First prototype!
Tweaking the design
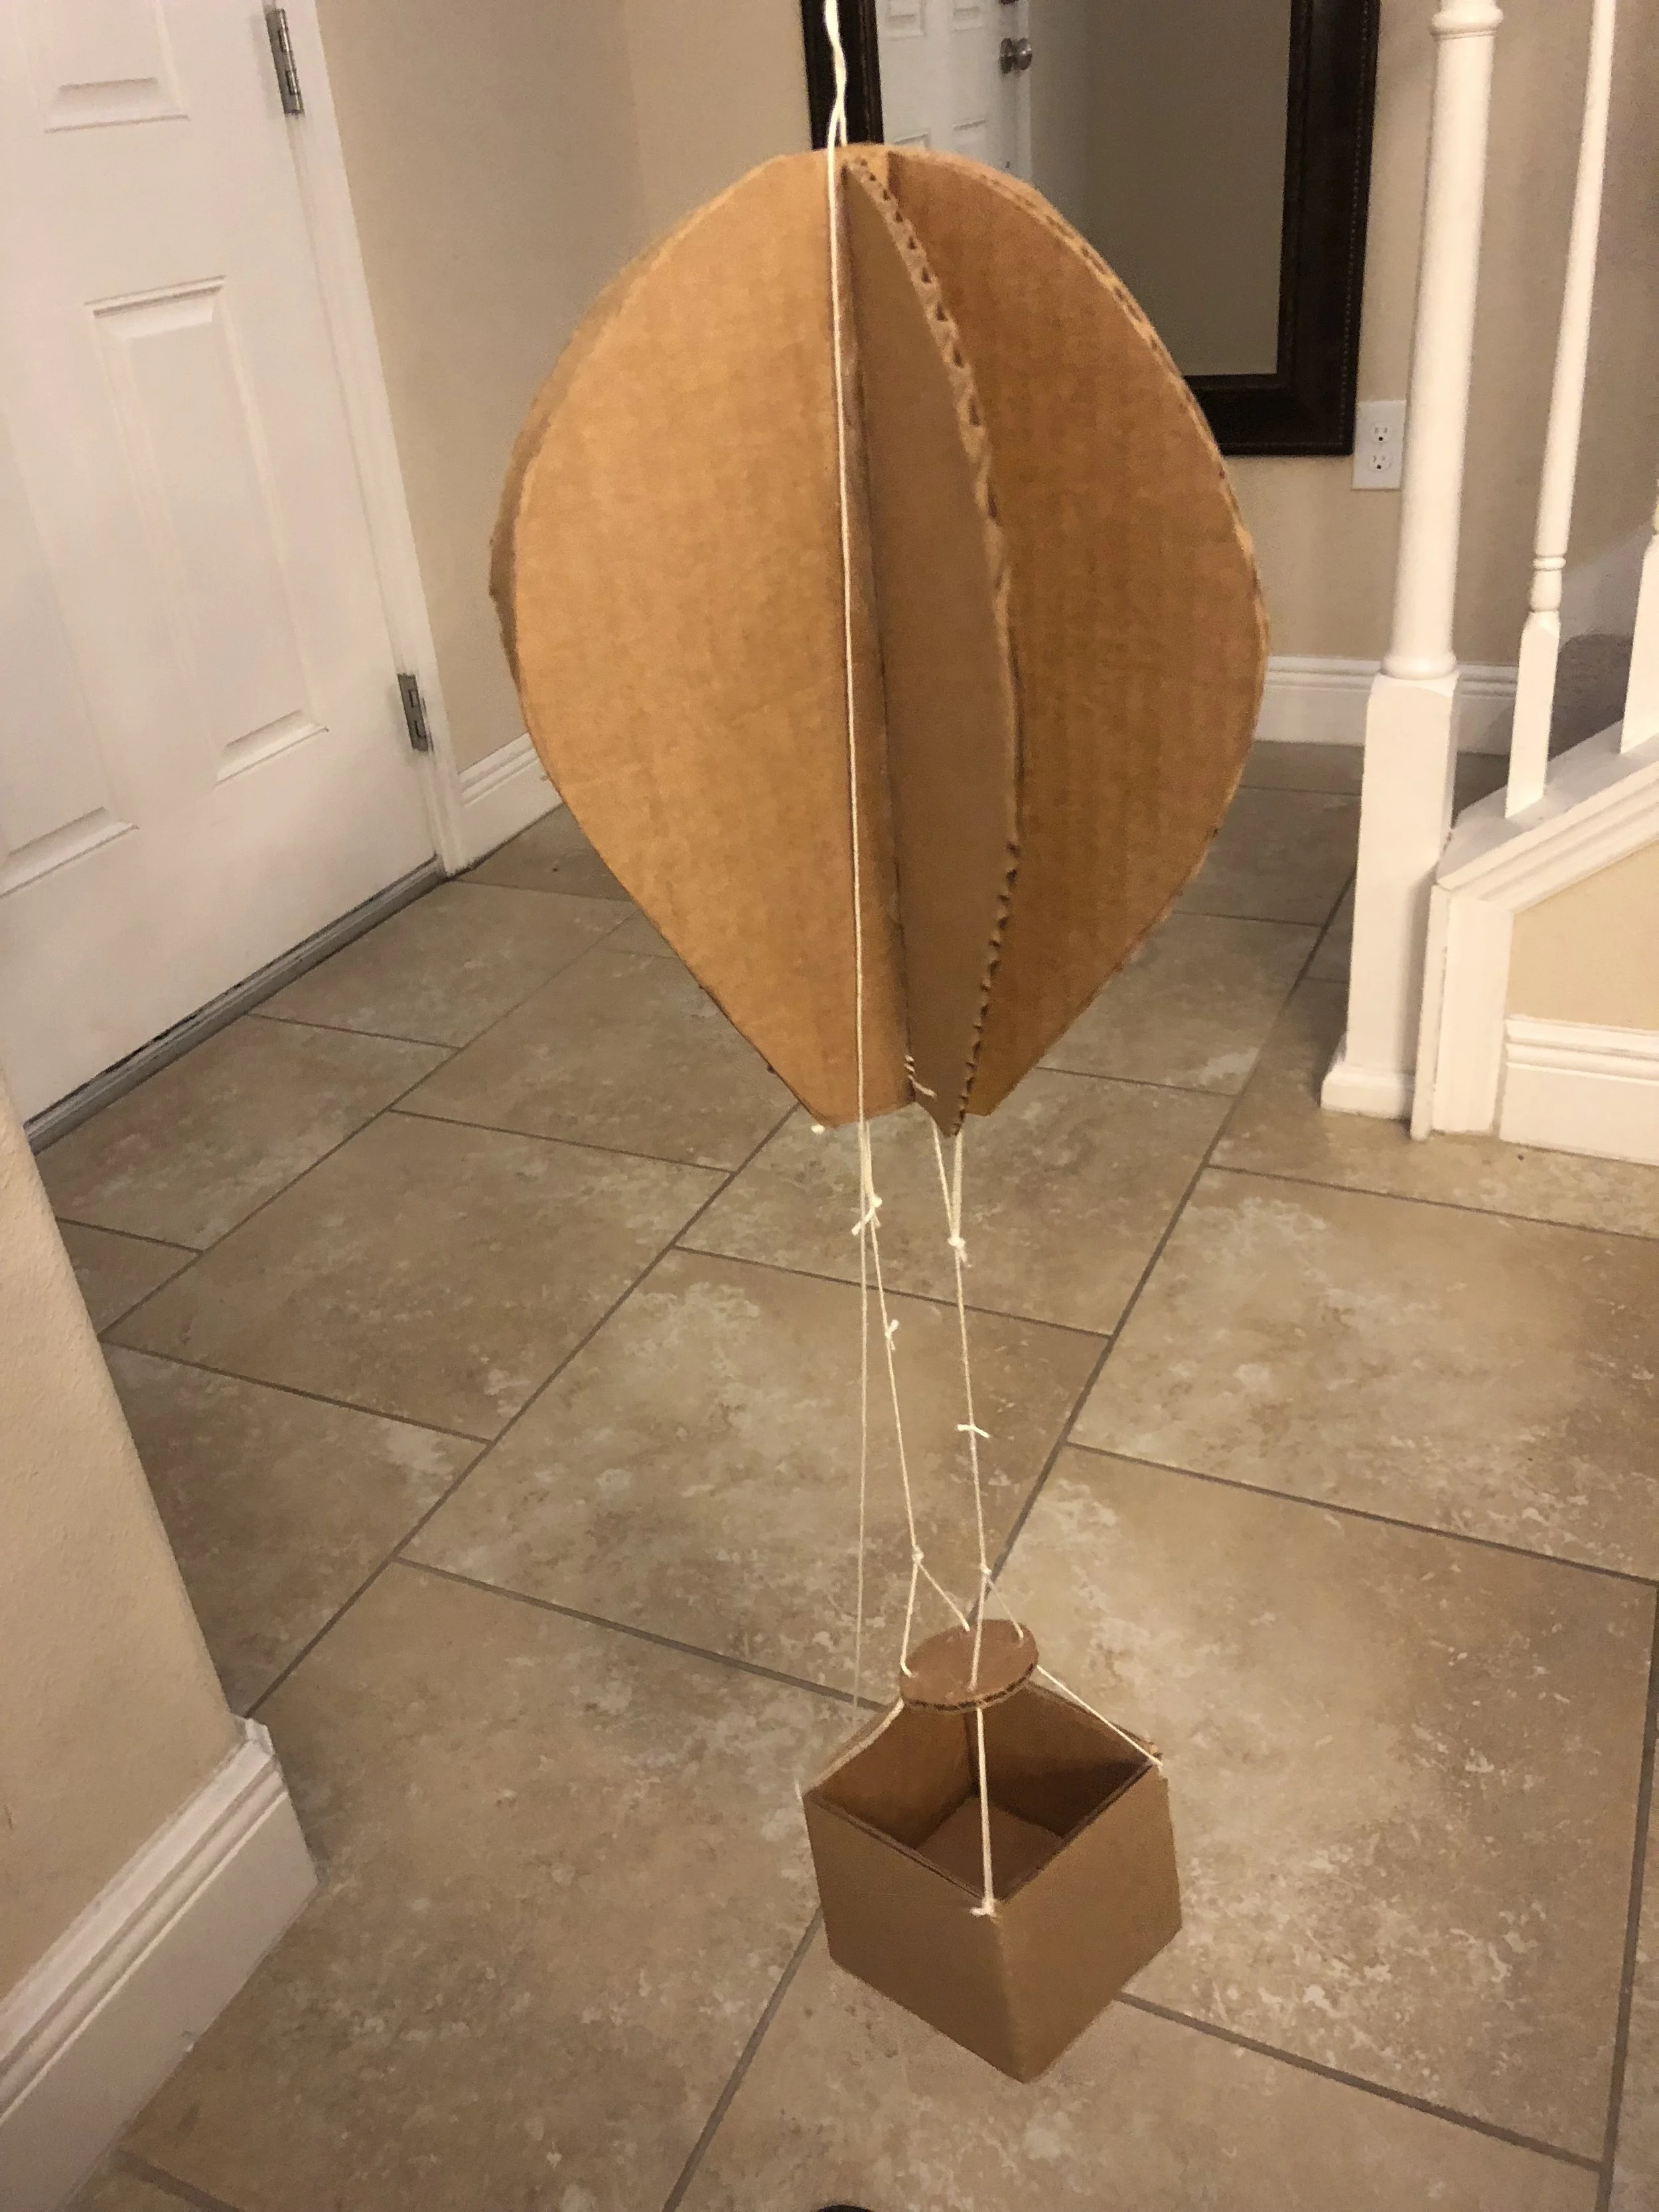
I then used the yarn to sew some stabilizing stitches at the top and bottom of the joined balloon-shaped pieces and used the tails of the yarn to connect the balloon to the baskets.
Final prototype!
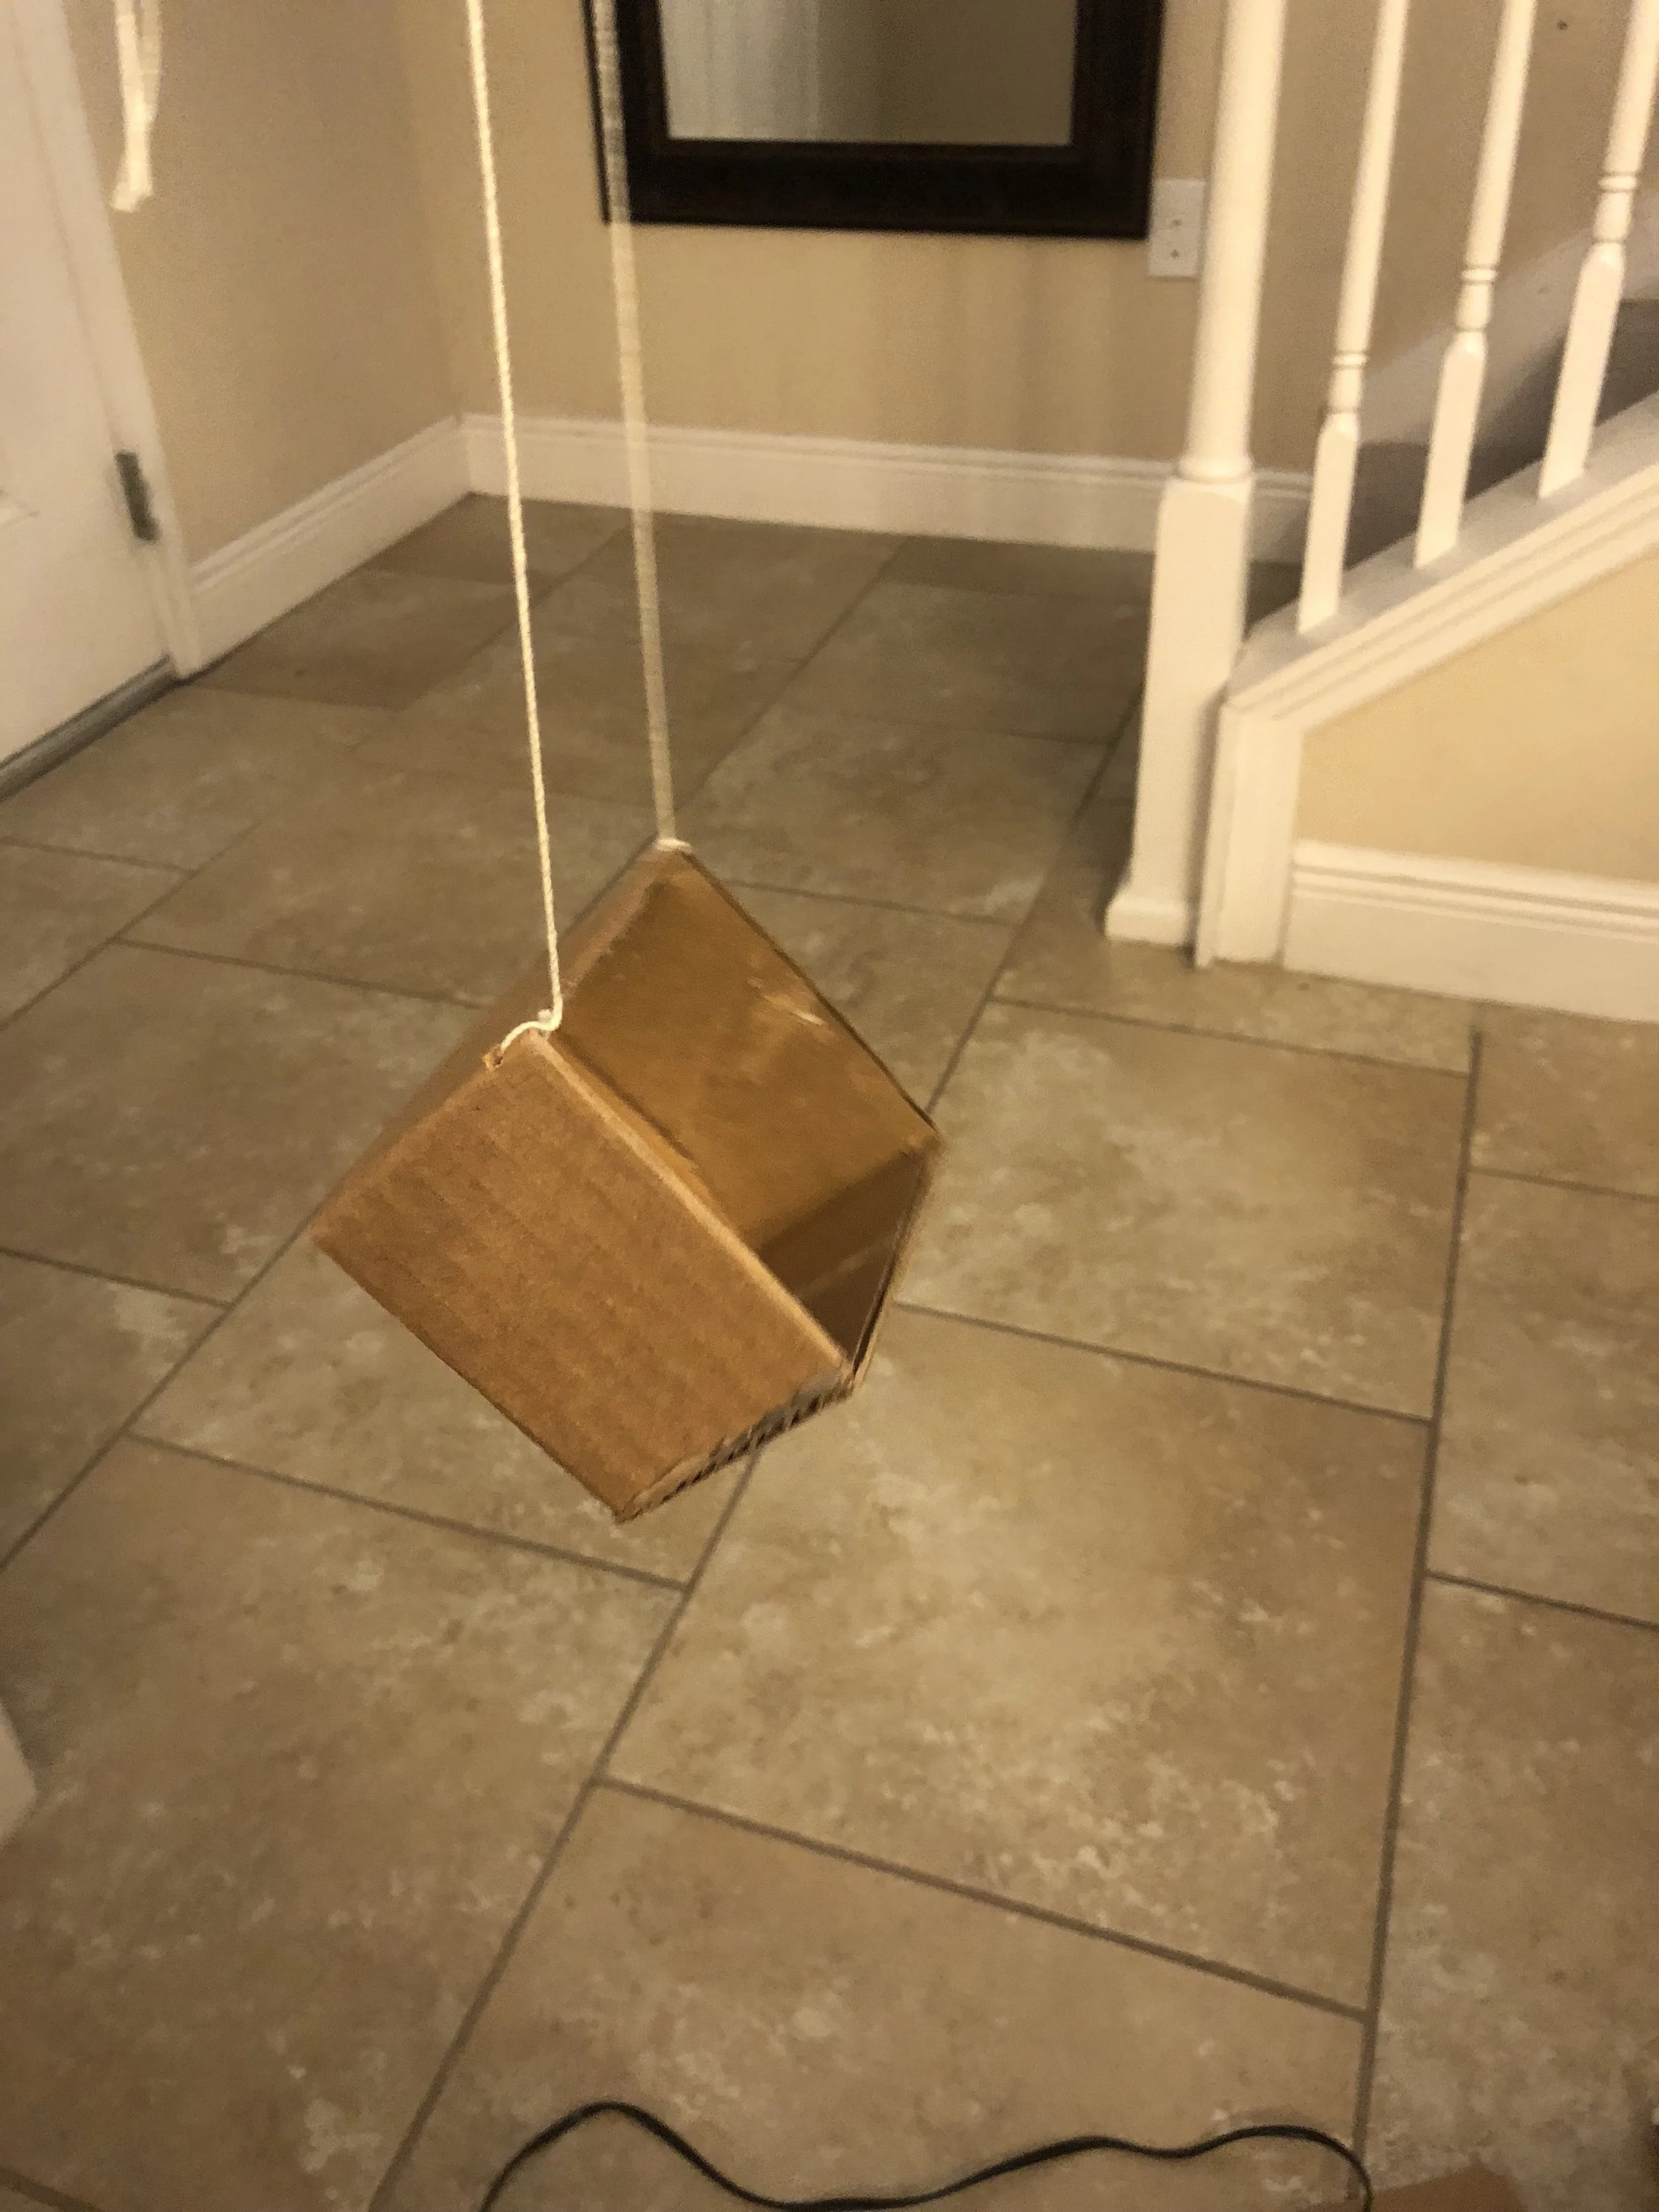
I made the circles and ran the string through them to help stabilize the basket for when it would actually hold items—and also because I liked how it looked. The baskets are long cardboard rectangles that I bent into a square and glued together. Once they dried, I glued bottoms inside them. I used a large embroidery needle and some wooden skewers to drop the yarn down the center channel of the flat (and stable) balloon component for each balloon, and then I glued the end of the string to each balloon’s bottom, above the basket.
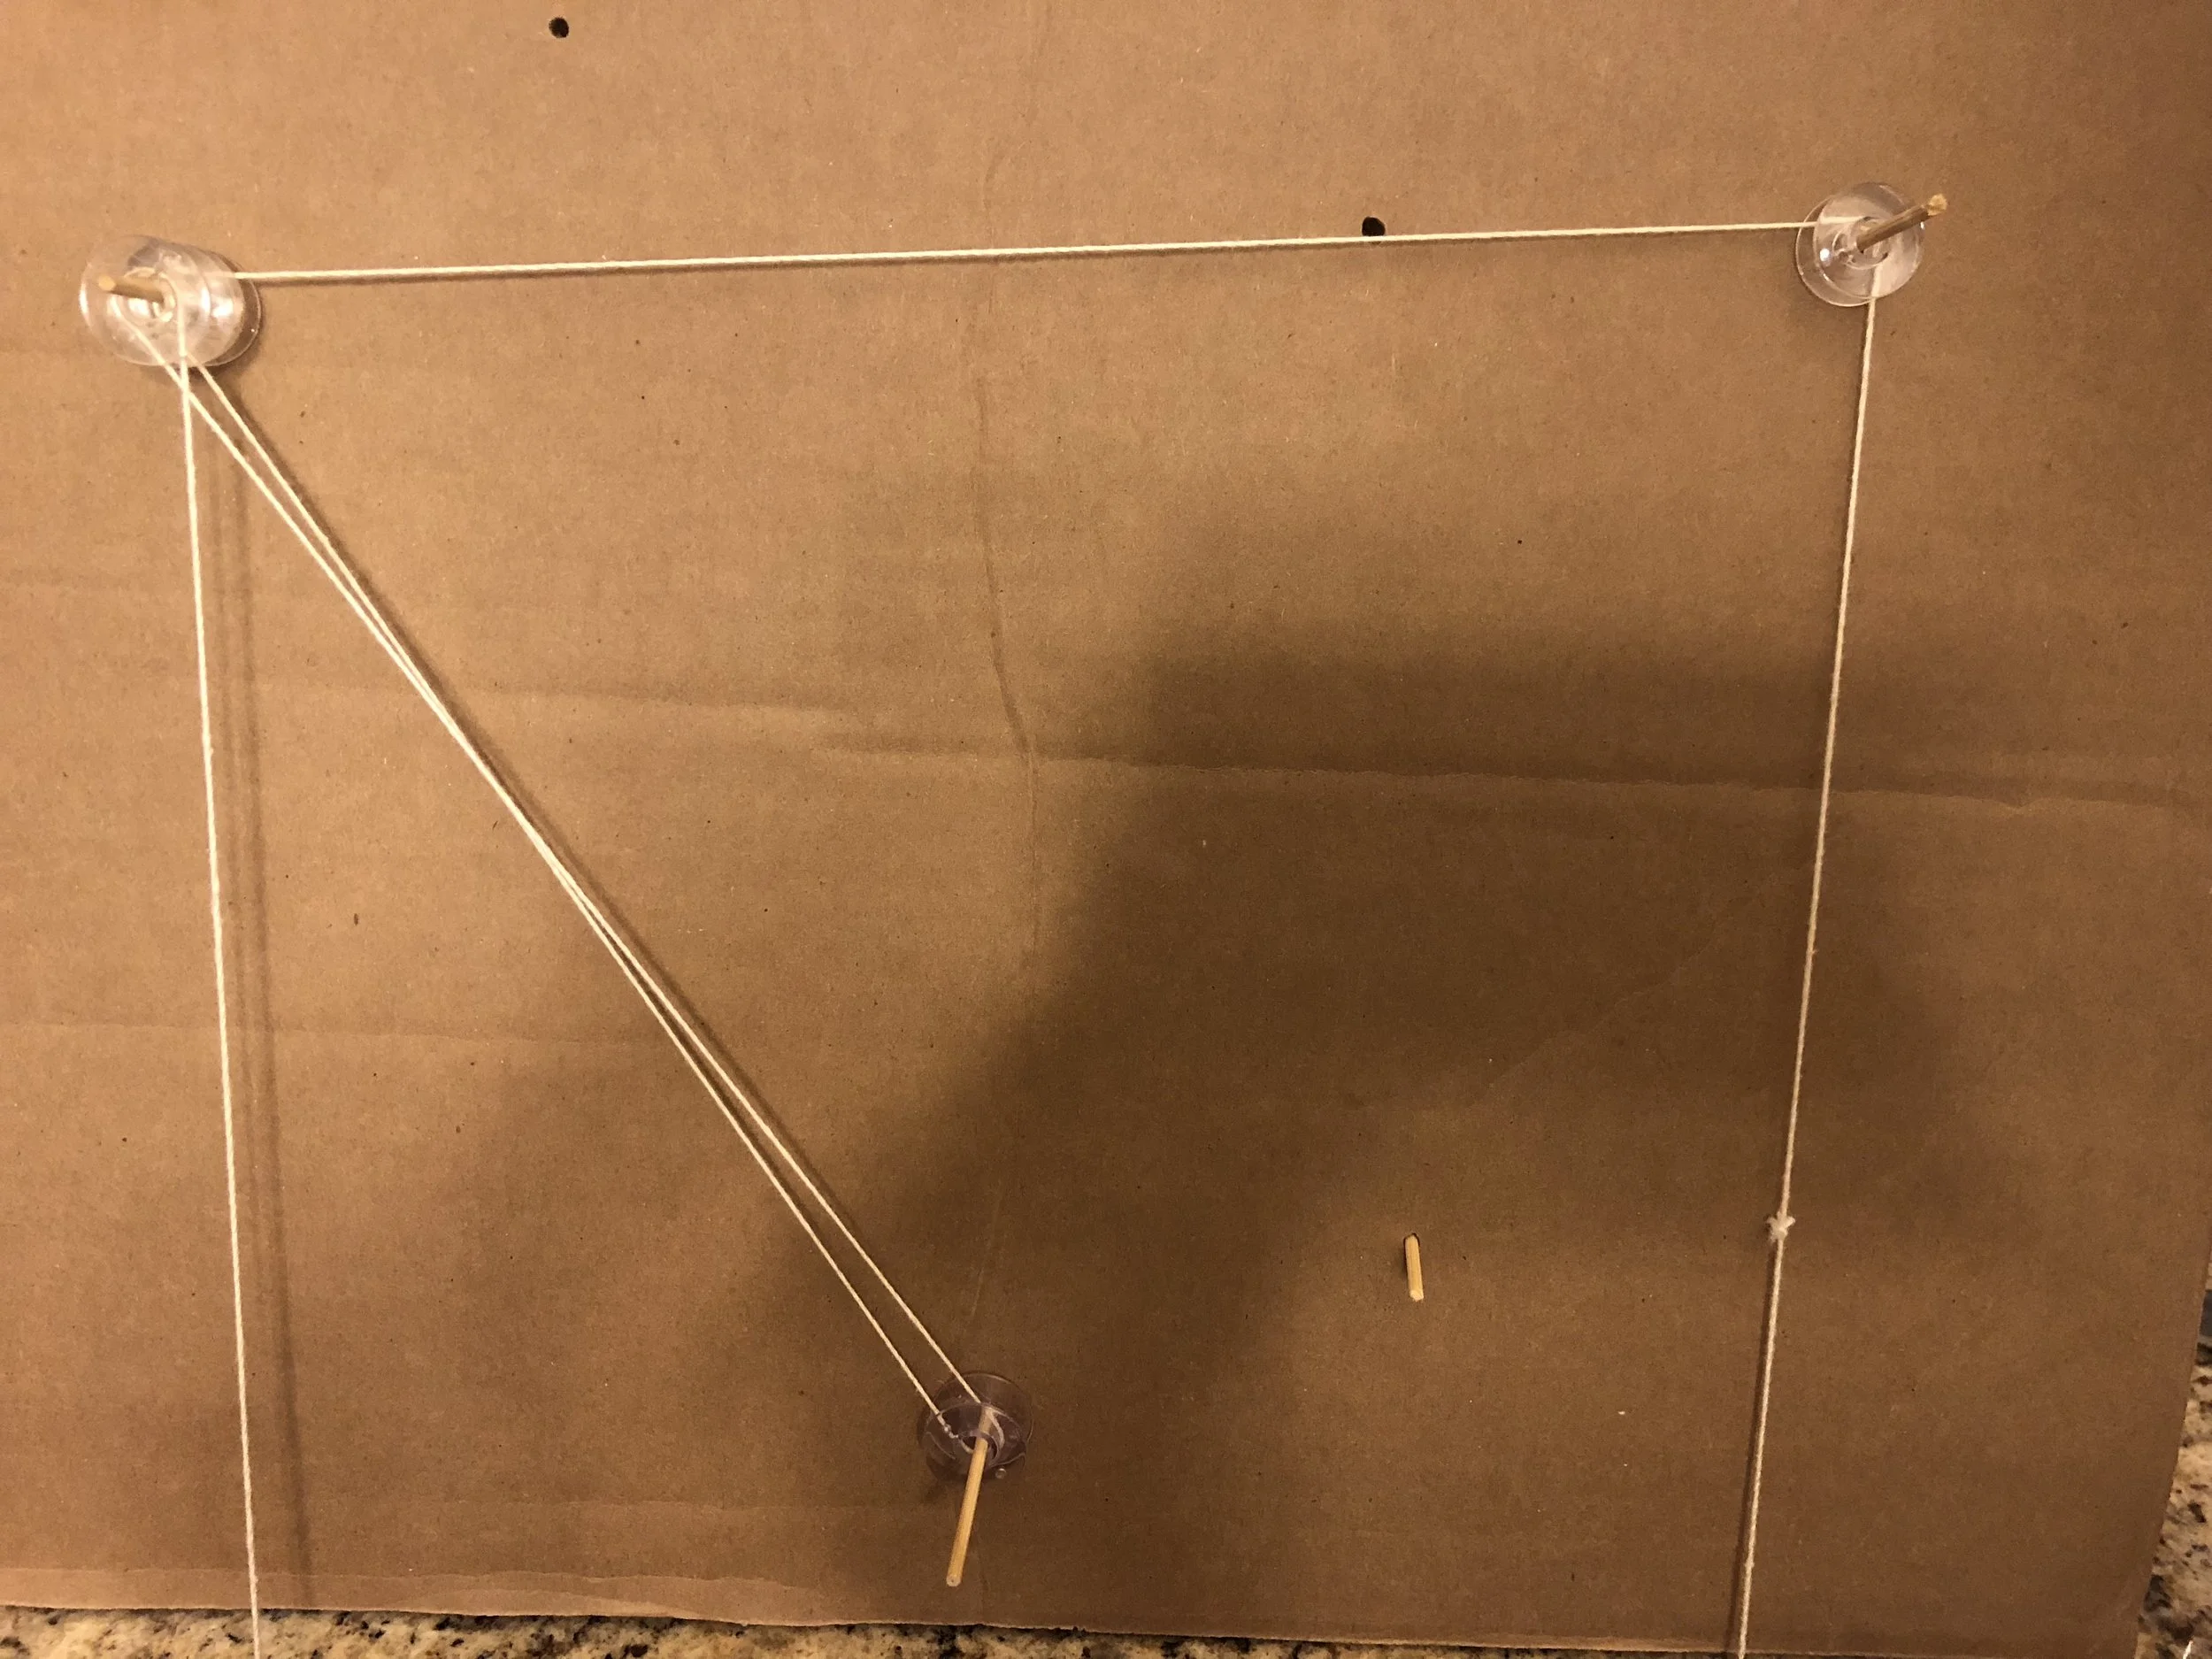
Setting up the pulleys
Initial 3-pulley system
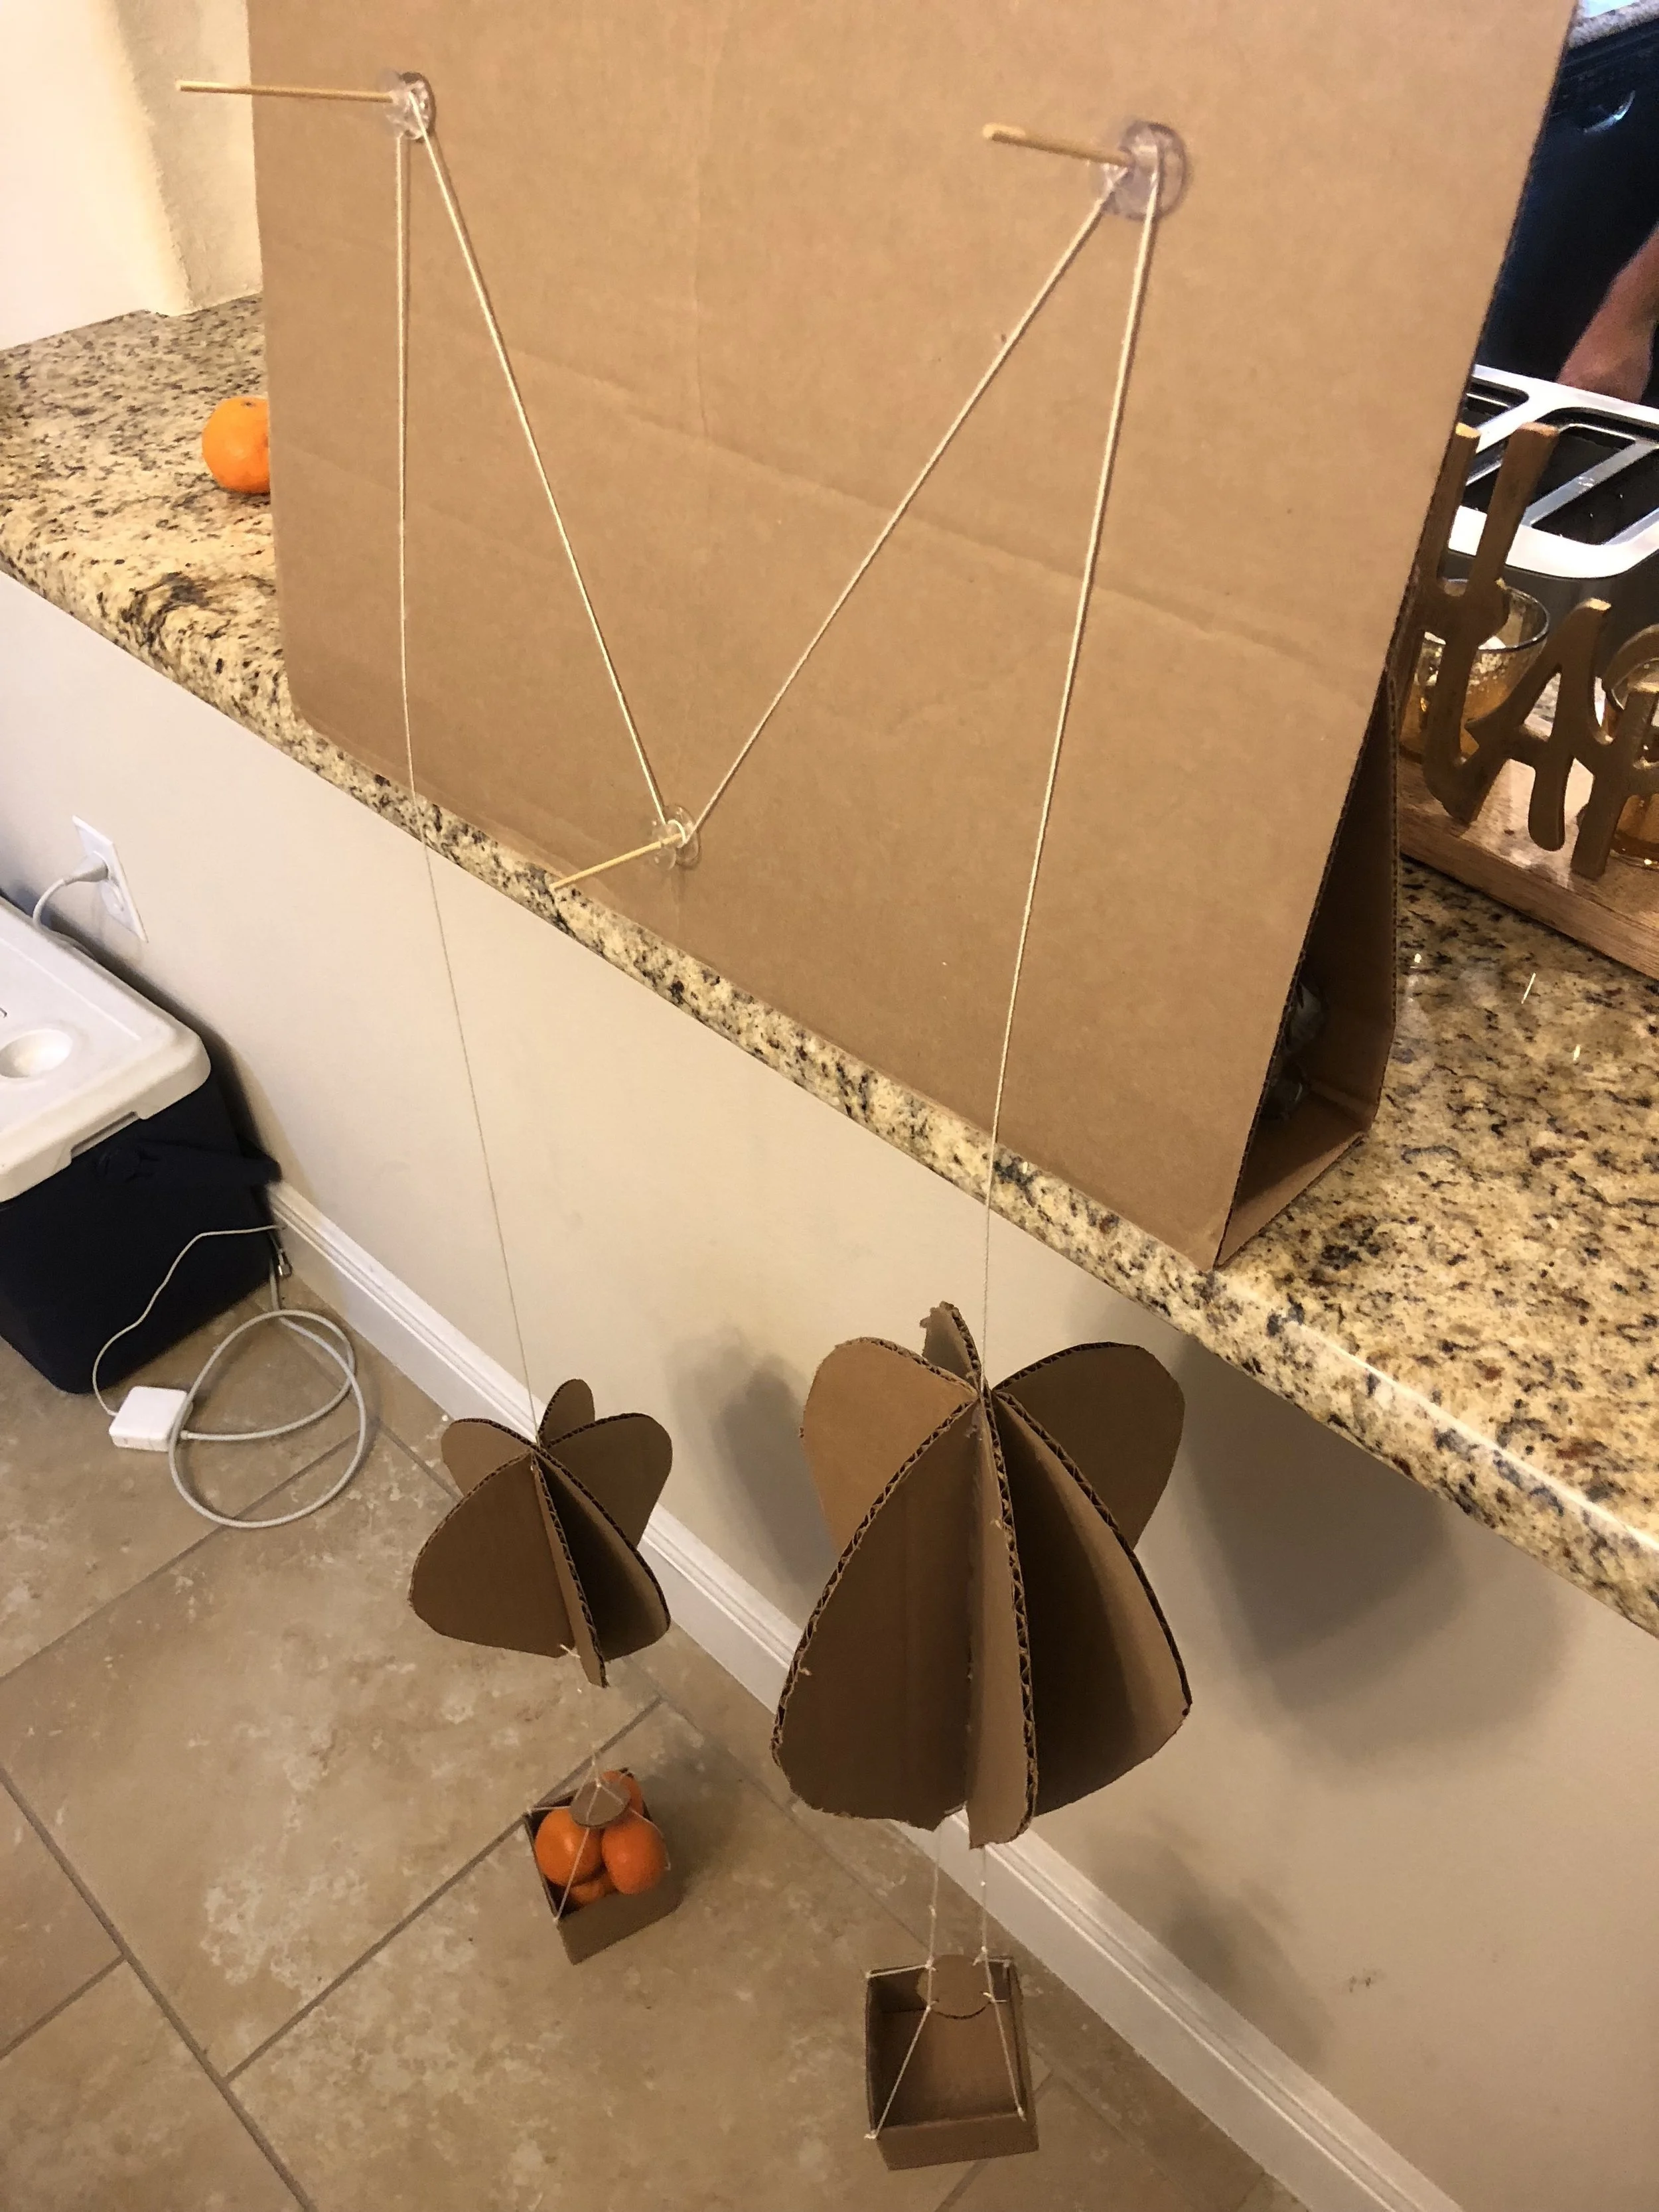
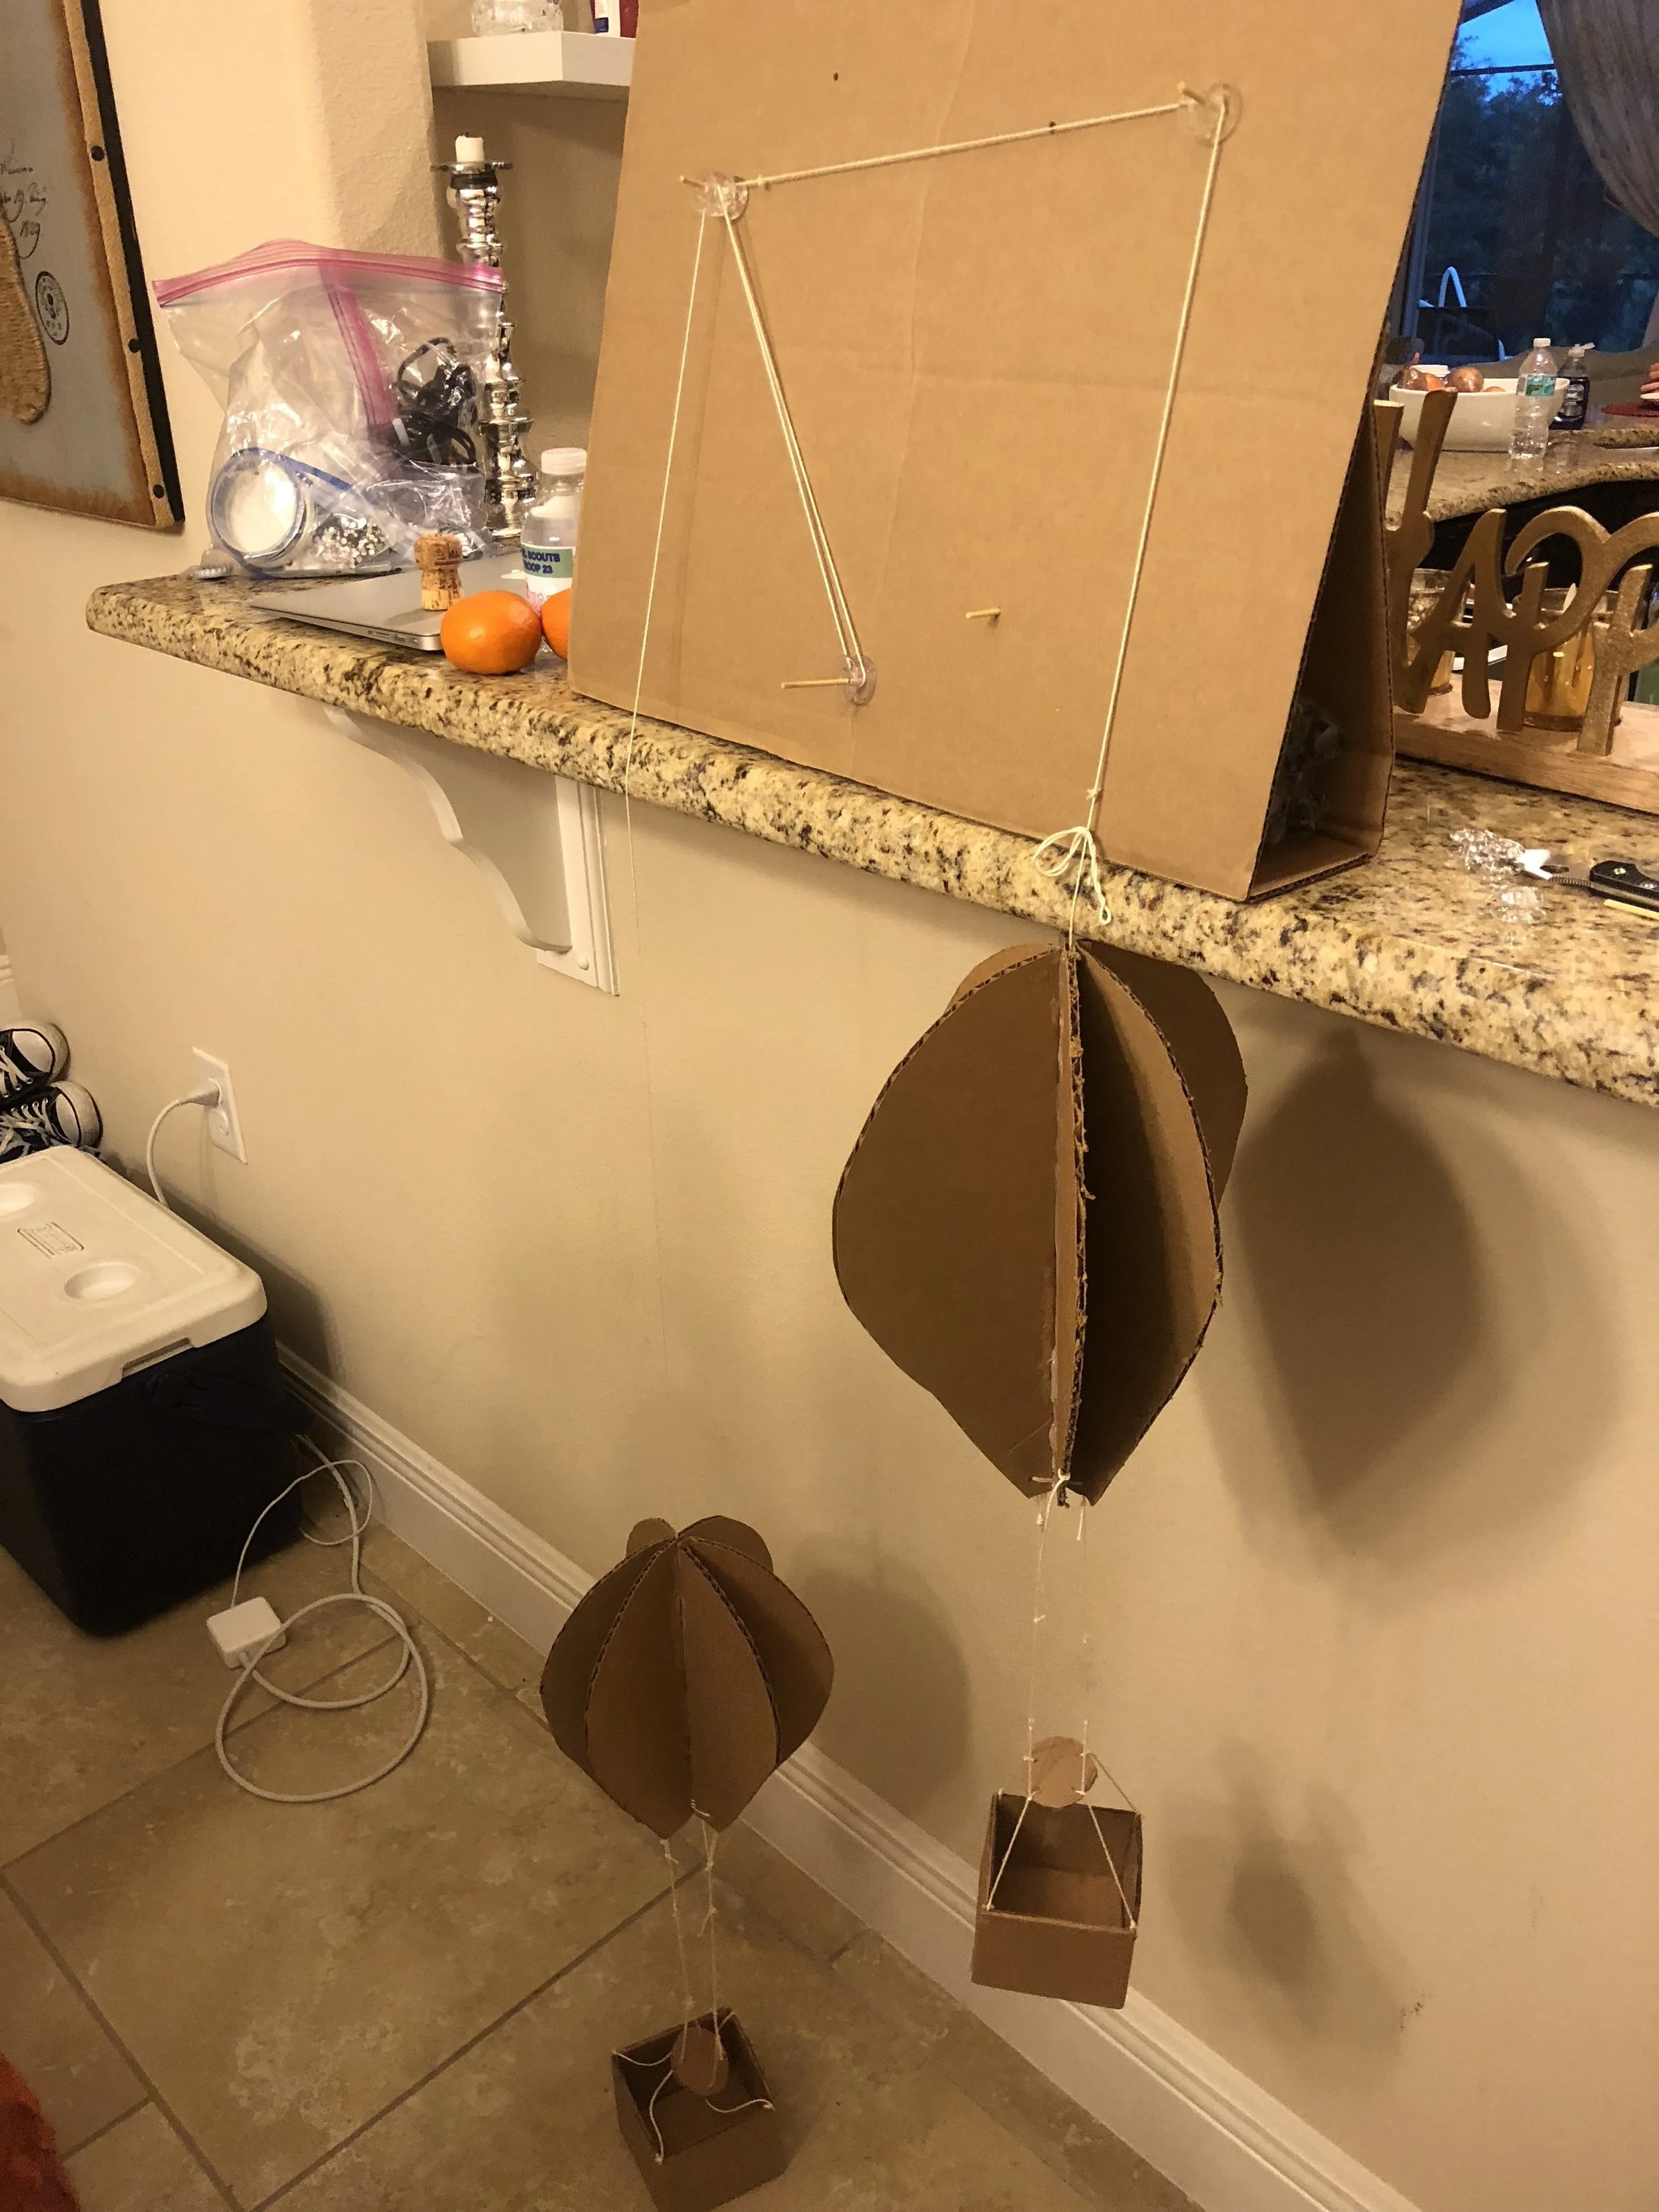
I used that string to thread the pulley system, which originally had 3 pulleys. I mounted the pulleys, which were actually sewing bobbins with wooden skewers through them, onto a cardboard stand that I used over the edge of a bar-top counter in a pass-through window between the dining room and kitchen of the vacation house we were renting for Memorial Day weekend. I used a flat piece of cardboard, and I bent a second piece of cardboard to the back to create a stand. I also slid 2 bottles of water into the stand to weigh it down so that it wouldn’t tip over when we started putting rocks in the balloons’ baskets. We tried clementines as our first weighted material, but the baskets weren’t really big enough to hold the fruit, so we switched to rocks.
The pulley system was successful with 3 pulleys, but then I wondered if I added another pulley or two if we could use fewer rocks to move the balloons, and it seemed to be successful! My 7-year-old had to use 6 rocks the first time, and he was able to move the balloons with 4 rocks the second time.
Overall, the kids loved the actual mechanics of playing with the pulleys, and it makes me think that it would be interesting to set up some kind of pulley installation for a corner of a makerspace where the parts can be switched out and moved around to try different levels of force.
The new pulley arrangement, up close and personal!
Full-length view of the new pulley setup.
